Did you move files from your Mac to your Chromebook and realize some of the files you need are missing? Switching to a new OS is hard enough, and data loss just piles on the issues. The good news is, you can usually recover those lost files.
And in this article, we’ll show you how to troubleshoot the issue and recover your data. You’ll find step-by-step methods to help make sure nothing important gets left behind as you move from Mac to Chromebook.
How to Recover Files on a Mac After Switching to a Chromebook?
If you’ve switched to a Chromebook but still have your MacBook – you’ve got a few solid options for recovering your files. You can try the built-in tools first, and if those don’t do the trick, there are reliable third-party apps that can help, too.
Before moving to recovery methods, try a quick search with Finder. There’s a chance your files aren’t actually gone – they might just be tucked away in a different folder. If nothing turns up, don’t forget to check the Trash.
Deleted files usually stay there until you manually empty it or until macOS clears it out automatically (if you’ve set that up). If you still come up empty-handed, your files might be permanently deleted – but that doesn’t mean they’re gone forever. Let’s go over a few recovery methods that can help bring them back.
Method 1: Recover Files Using Built-in Tools on Mac
If you made the most of your Mac, there’s a good chance you used Time Machine to back up your system (and maybe even your external drives). If that’s the case, you’re in luck.
Time Machine provides a reliable way to recover lost files, as long as the backup was set up before the files went missing and you have a copy from that time.
- Plug in the external drive that holds your Time Machine backup to your Mac.
- Click the Time Machine icon in the menu bar and select ‘Browse Time Machine.’ (If you don’t see the icon, go to System Preferences > Time Machine and check ‘Show Time Machine in menu bar.’)

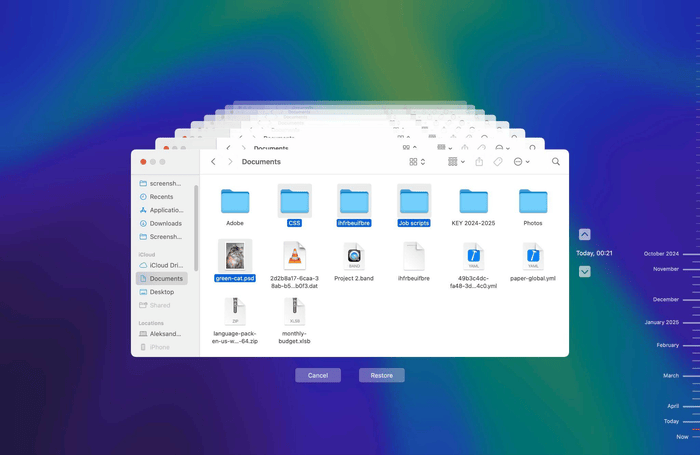
- Use the timeline on the right or the little up and down arrows to go back to a date before you lost your files. You can also hit the search bar to jump straight to the exact file or folder you’re looking for.
- Once you find what you need, select the files or folders and click ‘Restore.’ Time Machine will recover them to their original spot, or ask where to place them.
- Double-check the files to make sure they’re restored properly and open without issues.
- When everything looks good, transfer the recovered files to your Chromebook using Google Drive or an external drive formatted as exFAT, which is compatible with both systems.
Method 2: Use File Recovery Software on Mac
If you didn’t use Time Machine and don’t have a backup, you still have options. Data recovery software can scan your Mac’s drive for traces of deleted files and try to bring them back.
Just a heads-up – if your files were on an SSD (which most Macs use), act quickly. The TRIM feature on SSDs can permanently erase deleted data if you wait too long.
Most of these recovery programs work in pretty similar ways, but it’s a good idea to check out a few rankings of the best Mac data recovery tools to find one that fits your style and budget.
For this walkthrough, we’re using Disk Drill – it’s a popular pick thanks to its user-friendly interface and solid recovery features. It supports a bunch of file types, including photos, videos, documents, and even archives.
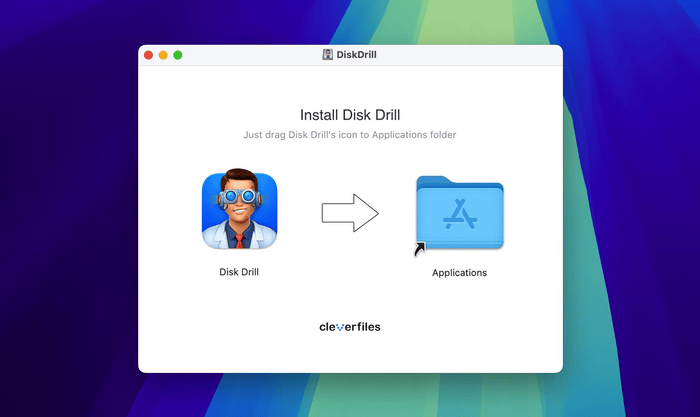
- Download and install Disk Drill on your Mac from the official site.
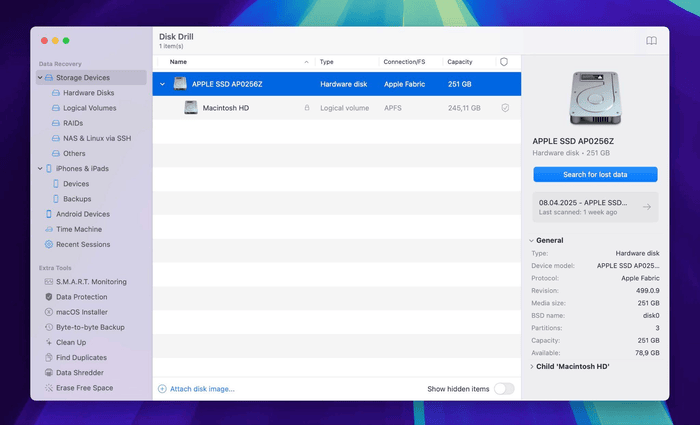
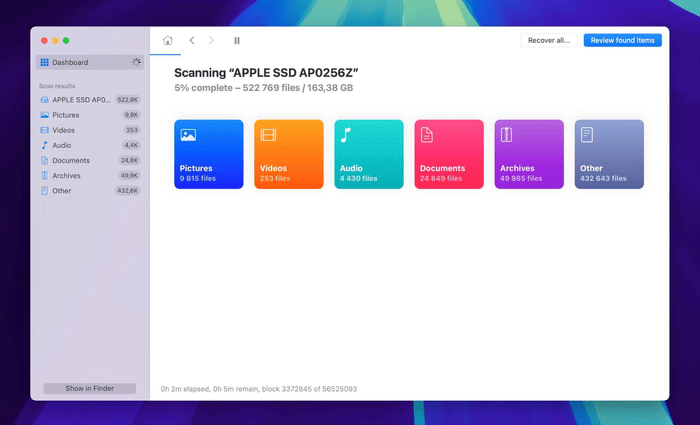
- Open the app and pick the drive you want to scan. If you’re trying to recover files from an external drive, just plug it in – it’ll show up in the list. Click the ‘Search for Lost Data’ button to begin the scan.
- You can start recovering files as soon as they show up, but it’s usually best to wait until the scan finishes. That way, Disk Drill can show you the recovery chances for each file.
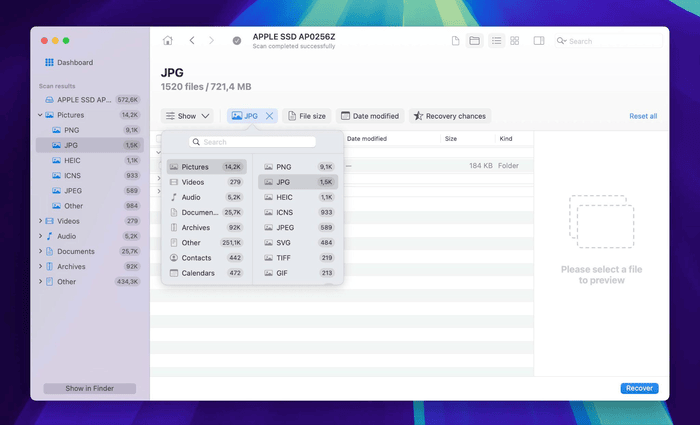
- When the scan’s done, look through the list of recoverable files. Use the filter tools to sort by file type if you’re looking for something specific.
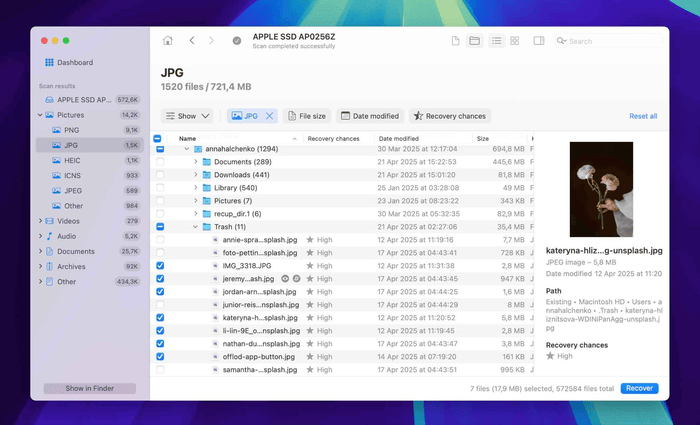
- Preview any file before recovering it to make sure it’s the one you want, and check the boxes next to the files you wish to restore.
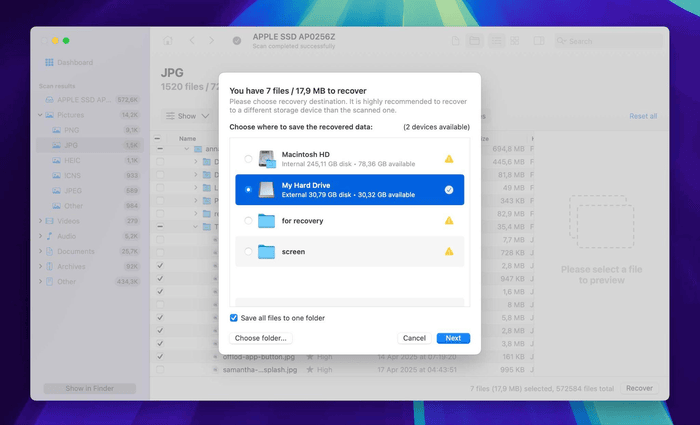
- Click Recover and choose a different location (not the same drive you’re scanning) to save the files. That helps avoid overwriting anything important.
Note that you can download Disk Drill and scan for recoverable files for free, but you’ll need to upgrade to the Pro version to actually recover them. If you’re set on a totally free option, check out PhotoRec.
Just keep in mind – it runs through a command line, not a regular app interface, and it doesn’t work on Macs with M1-M4 or T2 chips.
Method 3: Recover from External Drives or Backups
Another way to get lost files back on your Mac is to pull them from an external backup (if you have any available) – just plug the drive into your Mac and copy over whatever you need.
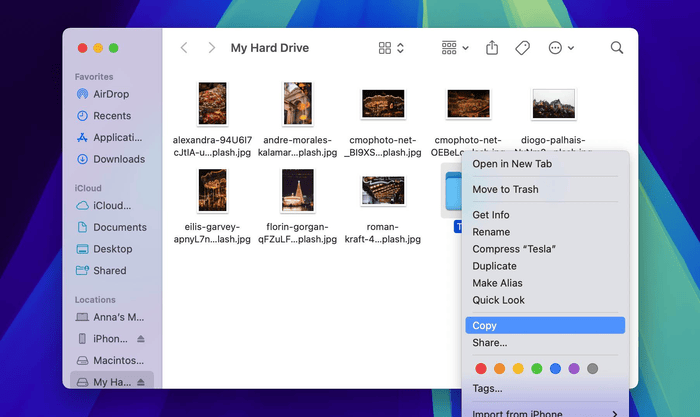
- Plug the external drive with your backup into your Mac and look through it to find the files you want to recover.
- Copy them to your Mac, but double-check that you’ve got enough storage space. When you’re done, eject the drive safely.
But if you want to move those files to a Chromebook, don’t plug that drive straight into Chrome OS – it probably uses APFS or HFS, which Chrome OS can’t read. Instead, connect it to your Mac first, reformat it to a cross‑platform format like ExFAT, and then you’ll be able to use it on your Chromebook.
- To do that, plug the drive back into your Mac.
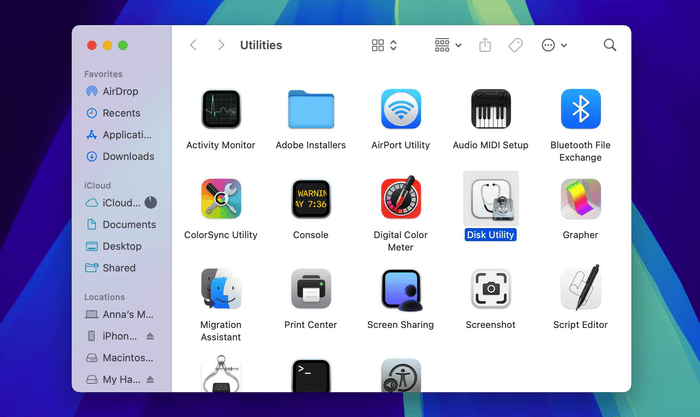
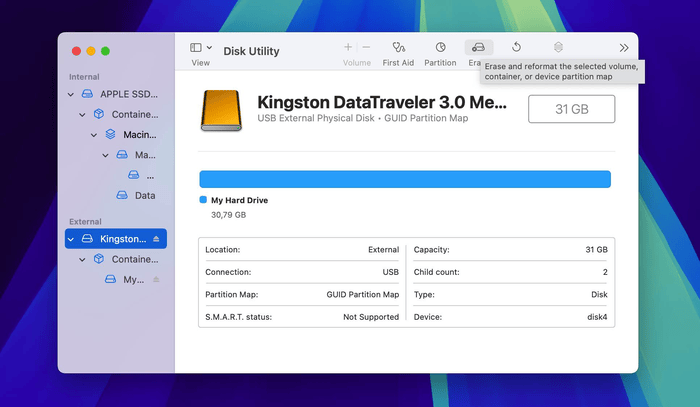
- Open ‘Disk Utility’ by going to Applications > Utilities. In the sidebar, click on your external drive.
- At the top, click the ‘Erase’ button.
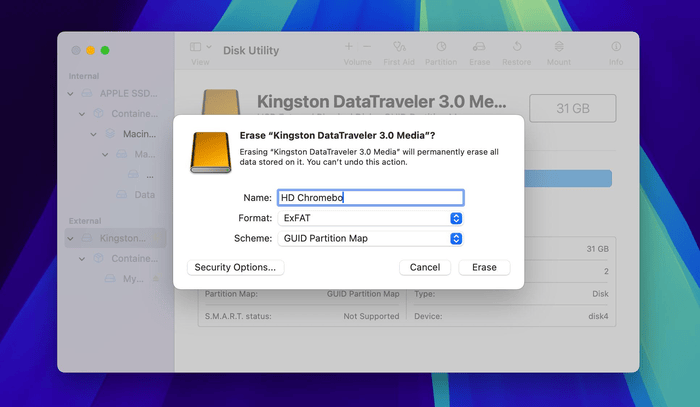
- Give the drive a name you’ll recognize later. For the format, choose ‘ExFAT.’ Then click ‘Erase’ to start the formatting process and wait for it to finish.
- Once the drive is reformatted, copy your files back onto it. You can now plug it into your Chromebook and access or move your files without any compatibility issues.
What If You No Longer Have Access to the Mac?
If you’ve already made the full switch to a Chromebook and no longer have your Mac on hand, recovering your files gets a bit trickier. Your only hope is that you have already removed the Mac’s internal drive – then you can plug that drive into another Mac and use the recovery methods we covered earlier.
Please be aware that it isn’t always straightforward, as many newer Mac models are not designed for easy drive removal.
Below is a quick chart showing which Mac models let you remove the internal drive and which ones don’t:

In other situations, unfortunately, you won’t be able to recover your data. You’ll have to accept it and start creating new files on your Chromebook.
Final Thoughts
In this article, we’ve covered all the ways you can recover files from your Mac when switching to a Chromebook – and how to keep using them afterward. Whether or not you’ve got backups, there are several solid options to help you get your data back.
That said, losing important files while using a Chromebook can be a bigger problem. Since you can’t install recovery software like Disk Drill on Chrome OS, your options are pretty limited. You’re basically stuck checking the Trash or looking for backups in Google Drive or on an external device.
That’s why it’s smart to back up your files regularly. At least once a week, copy your most important data to an external drive. It’s a simple habit that can save you a lot of issues if something ever goes wrong.