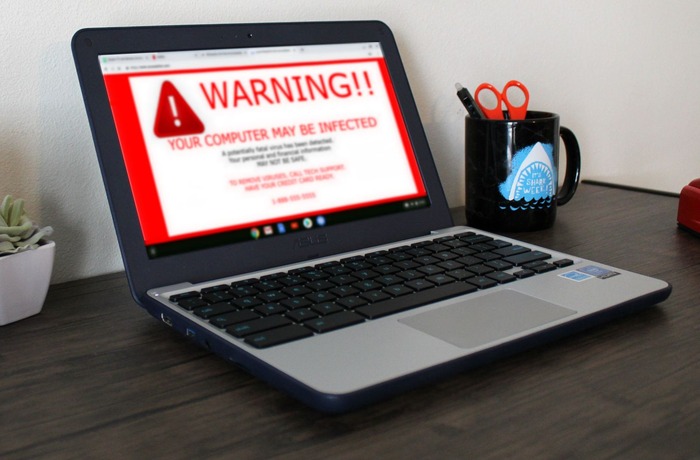
Imagine this: you’re in the middle of a critical task on your Chromebook when it suddenly freezes, or maybe you’re trying to stream your favorite show, but constant lag keeps interrupting.
These could be signs of a virus slowing down your device and putting your personal information at risk. Malware can affect your Chromebook’s performance, privacy, and productivity.
This article will explain how to check if your Chromebook is infected and how to remove viruses, including trusted antivirus options and essential tips to keep your Chromebook safe from future malware threats.
Signs That Your Chromebook May Be Infected

Although ChromeOS is known for its reliable security, no system is immune to malicious software.
Chromebooks can still face risks from fake add-ons, phishing, and harmful websites. Below are signs that could mean malware is affecting your Chromebook:
- Slow System Response: Noticeable lag in performance, long startup times, or delays when opening apps or browsing may indicate a problem.
- Constant Pop-Up Ads: If you see an unusual number of pop-up ads on trusted sites, it might signal adware or unwanted software.
- Unfamiliar Extensions: Unauthorized add-ons can be installed without your knowledge, causing strange behaviors like redirecting searches, displaying unwanted ads, or tracking your activity.
- Browser Settings Changes: If your default search engine or homepage is suddenly different and you can’t change it back, this may indicate malware.
- Unusual Data Usage: An unexpected increase in data consumption or unknown outgoing connections may be a red flag.
- Frequent System Crashes: If your Chromebook crashes more often or shows error messages, malware could interfere with system operations.
How To Get Rid Of Virus On Chromebook Easily?
If you notice signs of malware on your Chromebook, follow these steps to restore your device’s performance and security.
Step 1: Run a Security Scan with Antivirus
Start by downloading antivirus software to check for malware. A scan can detect and help remove unwanted files that slow down your device or trigger unwanted ads.
- Select a trusted antivirus program for Chromebooks.
- Download and install it on your device.
- Run a full scan on your Chromebook.
- Once the scan finishes, follow the antivirus’s instructions to remove threats.
Step 2: Delete Unwanted Browser Add-ons
Unwanted extensions can cause pop-ups and may track your activity. Remove any suspicious add-ons from your browser.
For Google Chrome:
- Open Chrome, click the three dots at the top right and go to Extensions.
- Choose Manage Extensions, locate any unfamiliar add-ons, and select Remove.
For Mozilla Firefox:
- Open Firefox and click the menu icon in the top right, then go to Add-ons and Themes.
- In Extensions, find any recent or unfamiliar items, click on the three dots next to them, and choose Remove.
If you installed Firefox through the Google Play Store:
- Open Firefox, tap the three dots at the top, select Extensions, and remove any suspicious add-ons.
Step 3: Restore Browser Defaults
Resetting your browser clears out hidden malware that may alter your settings.
For Google Chrome:
- Open Chrome, click the three dots at the top right and select Settings.
- Scroll to Reset settings and select Reset settings to their original defaults, then confirm.
For Mozilla Firefox:
- If Firefox was downloaded from the Google Play Store, uninstall and reinstall the app to reset.
- If downloaded directly from Firefox’s website:
- Open Firefox, click on the menu and go to Help.
- Select More troubleshooting information, click on Refresh Firefox, and confirm the reset.
Step 4: Perform a Full Chromebook Reset
If other steps fail, a factory reset can remove any deeply embedded malware and erase your data. Be sure to back up any important files before starting.
- Sign out of your Chromebook.
- Press and hold Ctrl + Alt + Shift + R.
- Select Powerwash and click Continue.
- Follow the on-screen instructions and sign in with your Google Account after reset.
How to Run a Malware Check on Your Chromebook?

Although Chromebooks lack a built-in manual scan, using a trusted antivirus program can help detect and remove harmful software:
- Choose a reputable antivirus and subscribe to its service. One option is TotalAV, which is currently available at a discount.
- Download and install the antivirus on your Chromebook.
- Run a complete system scan using the antivirus.
- Once the scan is complete, follow any steps the antivirus program suggests to remove threats.
Tips to Protect Your Chromebook from Malware
You can prevent malware issues by following these straightforward protection steps:
- Install a Reliable Antivirus: Use an antivirus program to help keep malware at bay and protect your data.
- Keep ChromeOS Updated: Regularly update your system and apps, as updates often come with security fixes.
- Download Apps from Trusted Sources: Stick to the Chrome Web Store for app installations, as Google reviews these apps for security.
- Be Cautious with Downloads: Avoid files from unfamiliar or untrusted websites.
- Use Strong, Unique Passwords: Create secure passwords for each account, and consider using a password manager to store them safely.
- Enable Two-Factor Authentication (2FA): Add an extra layer of protection, which helps prevent unauthorized access.
Final Thoughts
While Chromebooks have robust security features, staying alert for malware signs and proactively protecting your device is wise.
Use antivirus software, clear suspicious items from your browser, and stay cautious online to keep your device safe.
To maintain Chromebook security, avoid suspicious websites, untrusted downloads, and unknown programs.
The post How To Get Rid Of Virus From Your Chromebook? appeared first on About Chromebooks.

