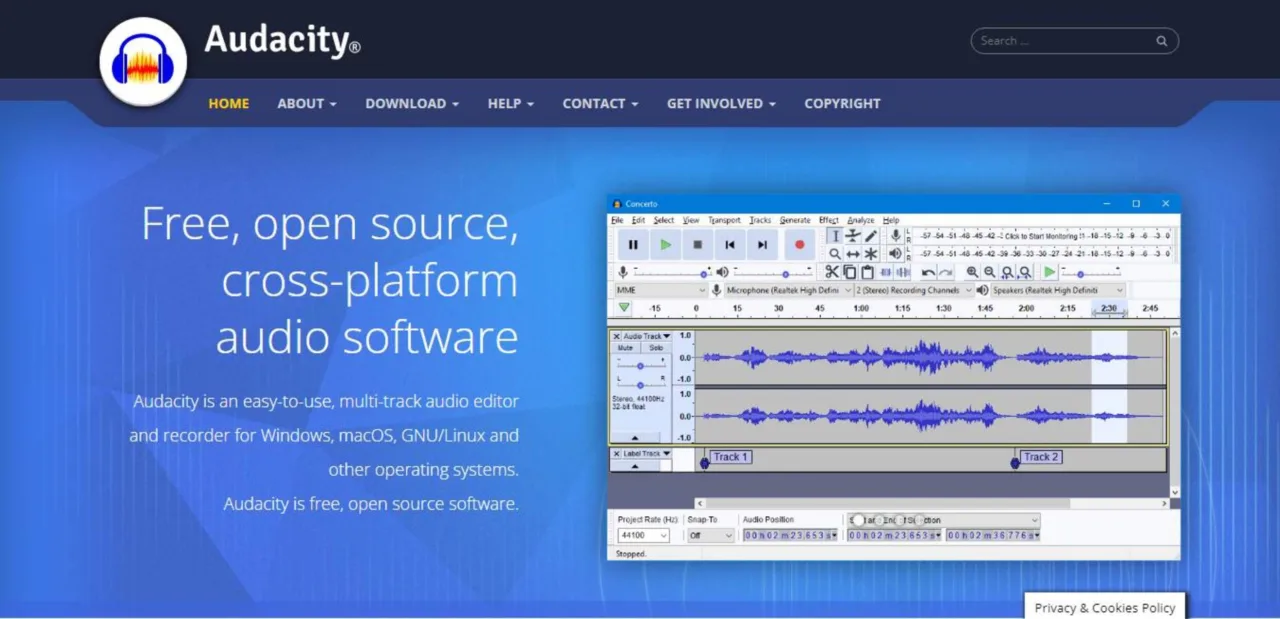
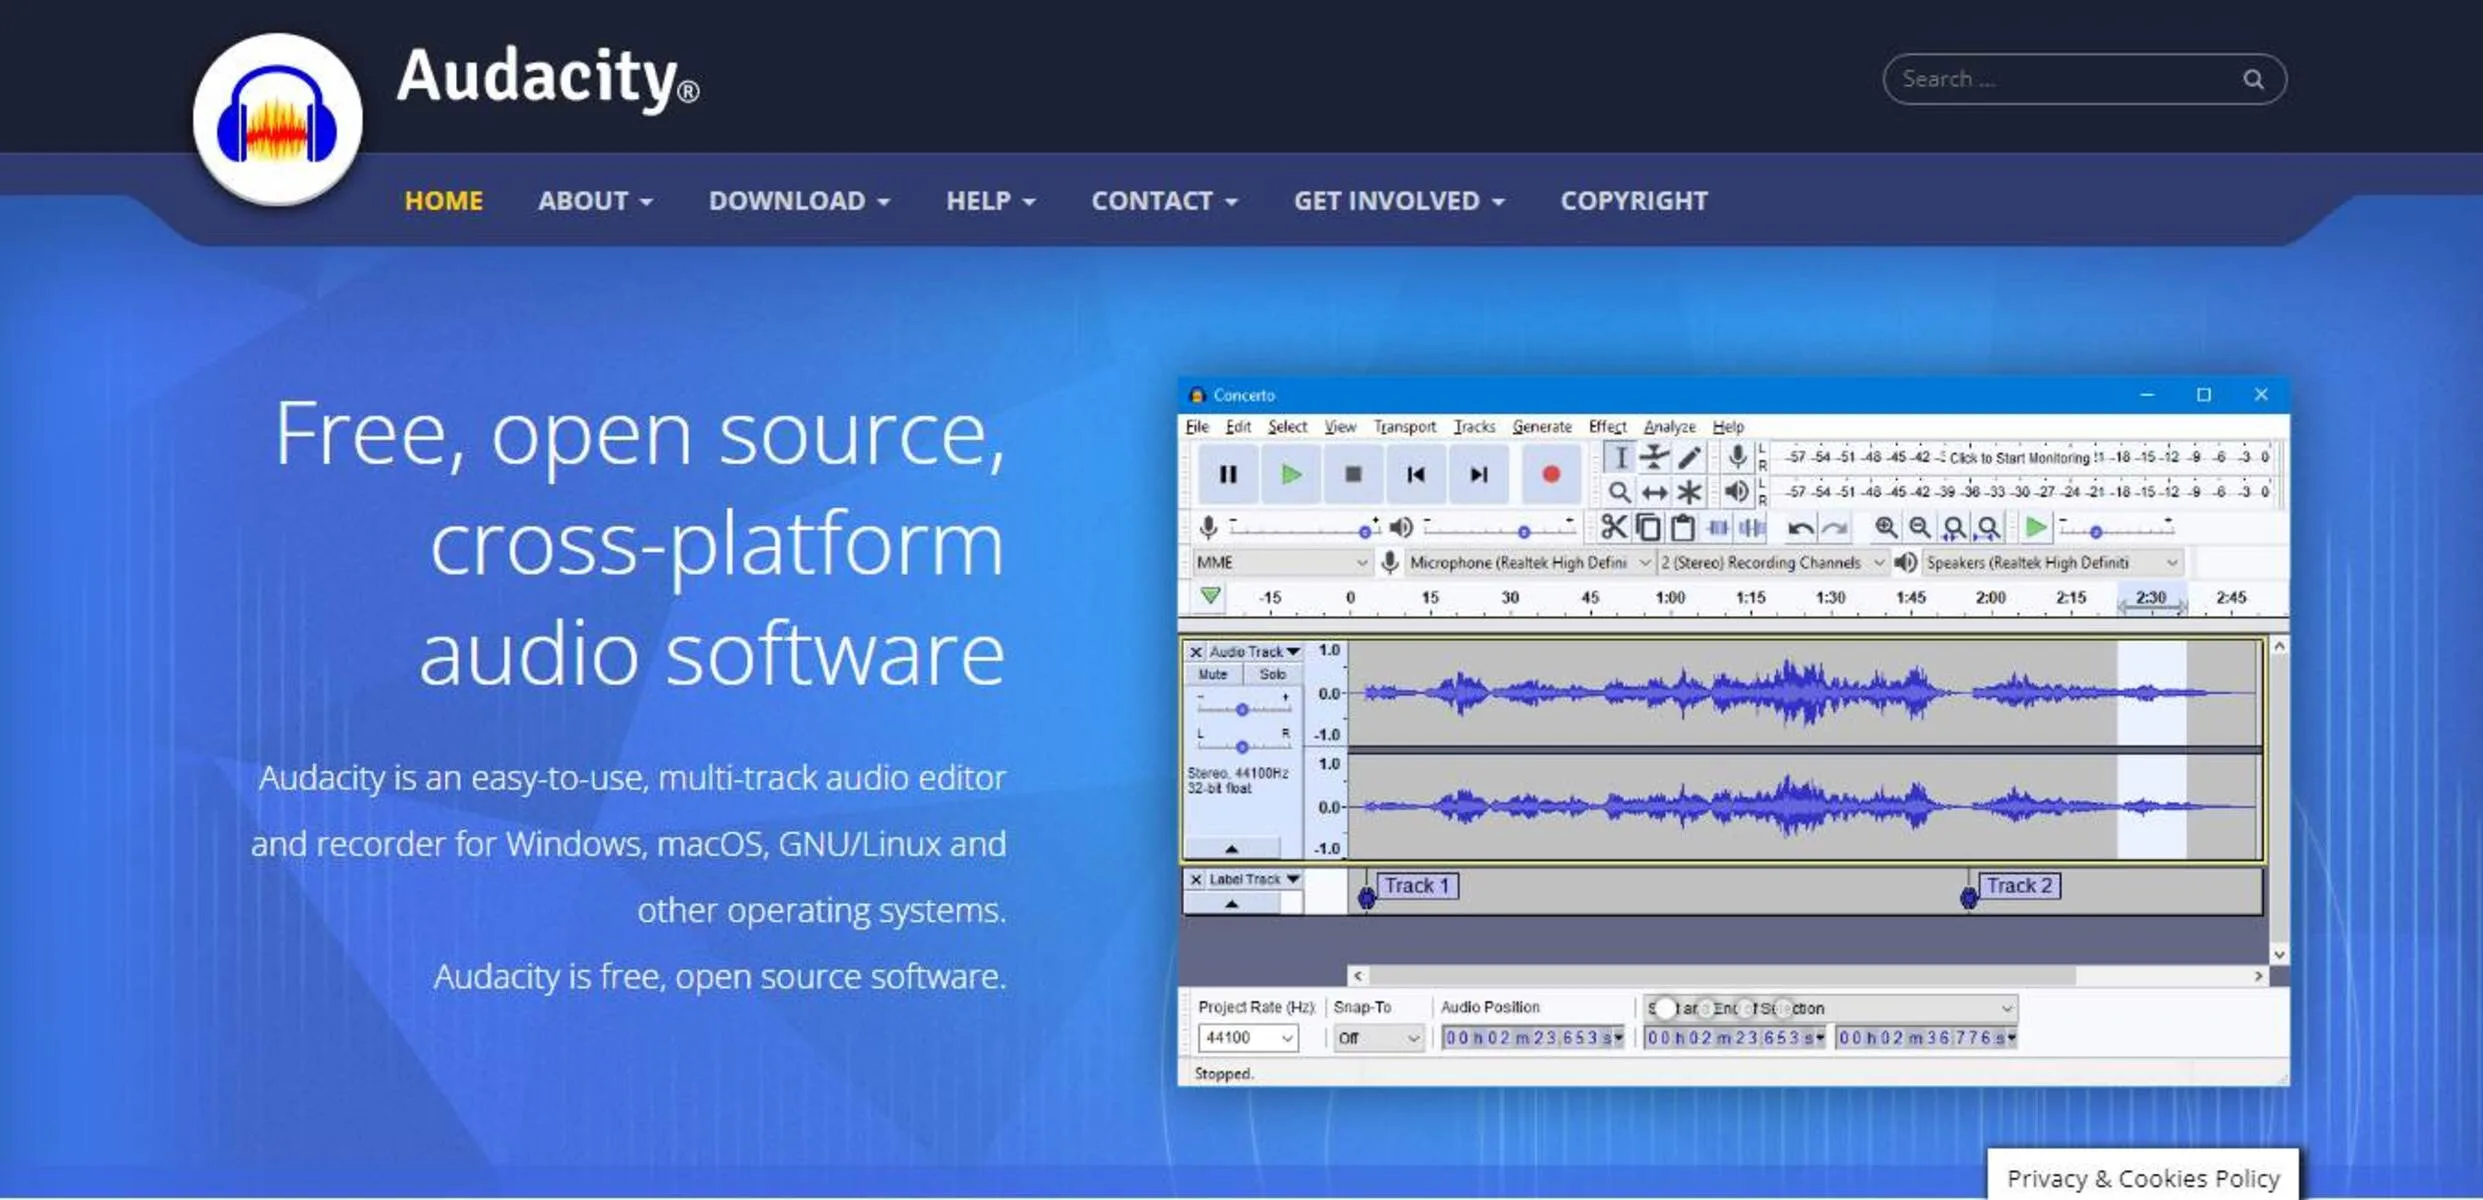
Chromebooks are known for being quick, safe, and easy to use. Many people love them for school and daily tasks. But built-in sound editing tools feel basic. Audacity for Chromebook fixes this problem. It is a free multi-track sound editor. With some setup, your laptop becomes a strong audio station.
Reasons to Choose Audacity for Chromebook
This program gives pro-level editing without any price tag. It suits podcasters, musicians, and students alike. Newer Chrome laptops can run Linux apps through a built-in feature. This option lets you add desktop programs like this one.
The Linux setup, called Crostini, runs inside its own safe space. Your main system stays protected while you use strong tools. Even if Linux is new to you, the steps below are easy to copy.
What You Need Before You Begin
Check these things on your laptop first:
| Requirement | Minimum Needed |
| ChromeOS version | 69 or newer |
| Free storage | 5GB at least |
| Processor type | Intel or AMD chip |
| Internet | Stable connection |
| Skills | Basic typing |
ARM chips may cause trouble with some Linux programs. A steady web link prevents broken downloads.
Getting Ready for Audacity for Chromebook
Update your laptop first. Click the clock, open Settings, and search “about.” Pick “About Chrome OS” and tap “Check for updates.” Save key files to Google Drive or a USB stick before going further.
Turning On the Linux Feature
Open Settings by clicking the clock and picking the gear icon. Scroll to “Advanced” and find “Developers.” Look for “Linux development environment” and hit “Turn On.” The screen will guide you through setup. This may take a few minutes. A Terminal window pops up when done. If not, search “Terminal” in your app drawer.
Installing Audacity for Chromebook Step by Step
Open the Terminal from the launcher. Type these commands one by one:
| Step | Command | Purpose |
| 1 | sudo apt update | Refresh package list |
| 2 | sudo apt-get install audacity | Get the program |
| 3 | Type Y when asked | Confirm install |
You might need a password. Letters won’t show as you type, which is normal. After it finishes, find the app in your launcher under “Linux apps.”
Other Ways to Install
The AppImage choice runs without full setup. Get the file from the official site, drop it in Linux Files, and make it runnable with chmod +x filename.AppImage. Source code building works too but needs more skill.
First Setup After Install
Open the app and look at its tools. The layout has play buttons, editing icons, and track views. To use your sound files, drag them into the Linux Files folder through the Files app.
Turn on microphone access in laptop Settings. Search “Linux” and flip the mic switch. Inside the program, go to Edit > Preferences > Devices and pick your gear.
Fixing Common Problems with Audacity for Chromebook
| Problem | Solution |
| App won’t open | Run audacity in Terminal to see errors |
| No sound recording | Check mic toggle in Linux settings |
| Files missing | Move them to Linux Files first |
| Slow speed | Close browser tabs and extra apps |
Tips for Better Results
Save your work often with Ctrl+S. Export finished tracks as MP3 for sharing or WAV for top quality. Use headphones since laptop speakers lack detail. Cut long projects into 5-10 minute pieces for smoother work. Learn shortcuts like Ctrl+Z for undo.
For cleaner sound, record in a quiet spot. Closets with clothes work well to block echo. Speak 6-8 inches from your mic. Apply effects in this order: noise removal, EQ, compression, then normalize.
Closing Thoughts
Audacity for Chromebook turns your simple laptop into a real sound studio. Setup takes some time but pays off well. Start with small jobs and build skill over time. Free help and guides exist online when you get stuck.