TL;DR – Budgets in Google Cloud are even better than before! Now project users in Google Cloud can create budgets and stay on top of their cloud spend without needing additional billing roles. Project Owners can receive timely notifications for budget alerts, helping them take quick action. We’ve also put together a guide to help you get started!
With great power (the cloud), comes great responsibility (the costs). Working with the cloud lets everyone, from individual users to large organizations, access on-demand resources for computing, data, AI, and just about everything else. Of course, these cloud resources naturally lead to cloud spend, and it can be hard to keep track of what you’re spending and where. For medium and large organizations this can become even more unwieldy, with hundreds or thousands of projects!
Thankfully, budgets are the best way to understand and stay on top of your spending. Using budgets, you can choose which projects and resources you want to measure actual spend (or forecasted spend) for, and how you’d like to receive notifications as the spend changes. Here’s a blog post that goes into more detail about how to set up a budget; we highly recommend that you start using budgets if you’re not already.
Over time, budgets have become more flexible and powerful, from being able to get budget updates in custom communication channels, all the way to fully automating cost control responses. Up until now, the management of budgets has been limited to the domain of billing account administrators and users, but that can be difficult to manage when you have hundreds or thousands of projects.

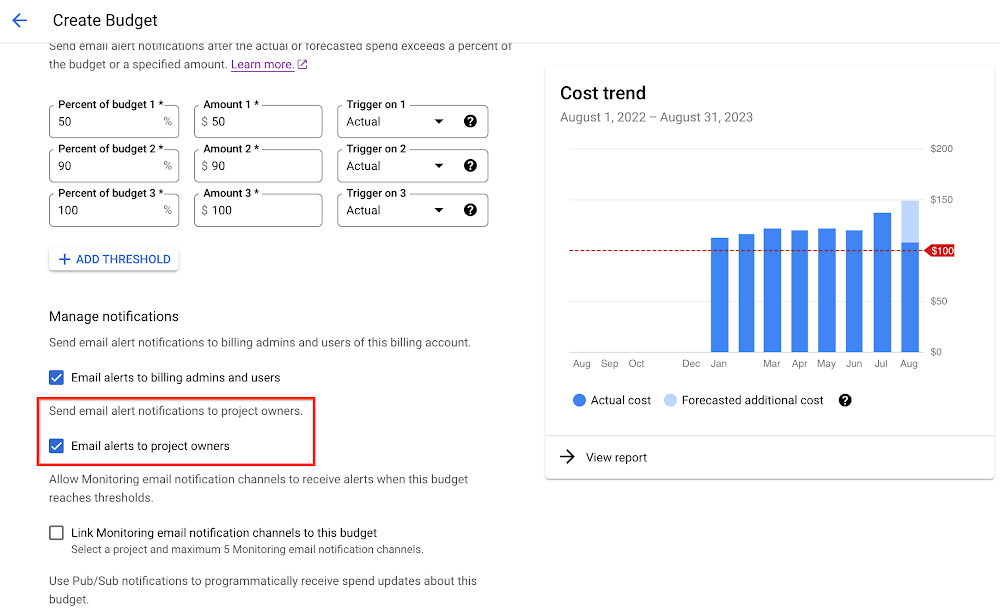
Budgets for project users lets you create budgets for your projects if you’re a Project Owner or Project Editor, so you no longer need to have access to the higher-level billing account permissions in order to get notifications based on your cloud spend. When a user with project permissions, but without billing account permissions, visits the Billing section of the console, they can now create and manage budgets that are tied to individual projects. This brings the power of budget notifications and customization directly to the people who need it the most!
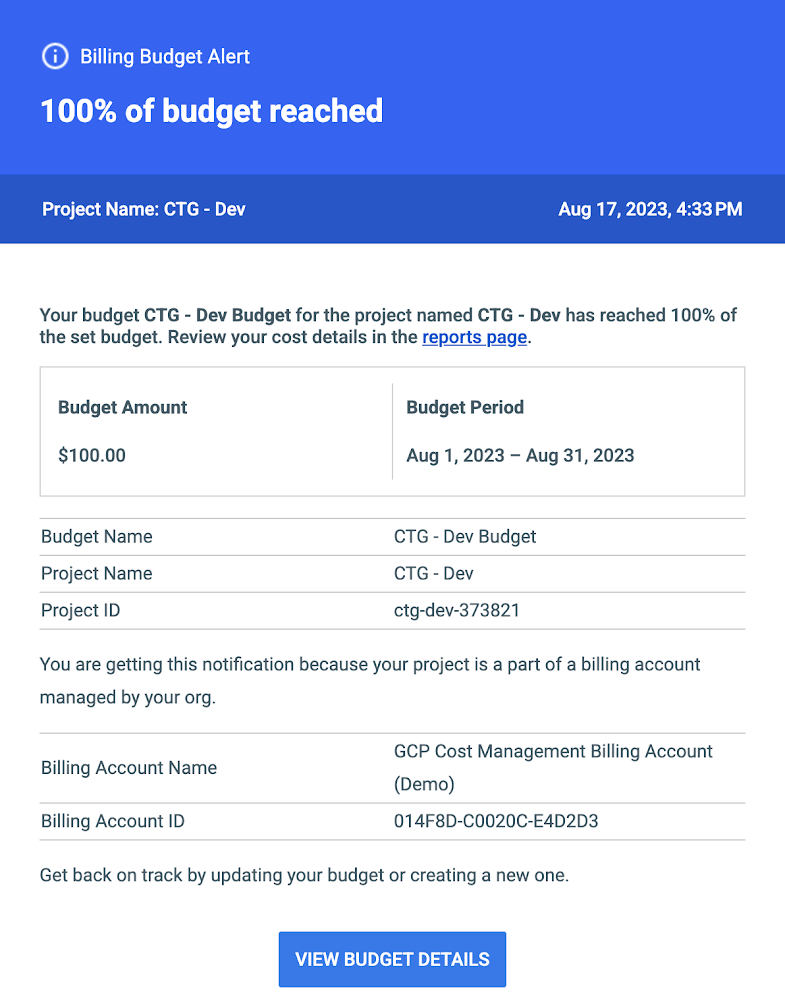
This also gives you the ability to use Notification Channels in new ways. As Project Owners and Project Editors are generally closer to engineers, they can add the team’s group email to receive budget notifications. Making sure the right teams receive timely budget alerts is a great practice to make sure your team can respond quickly.
By bringing all of the features of budgets to users with project permissions, project users can now track their costs and choose the best way to be notified with actionable information and avoid cost surprises. Rather than forcing billing account administrators to set up and manage a budget for each project, Project Owners can manage their own budgets through the console and receive notifications as their spend goes up.

While creating budgets in the Google Cloud console is quick and easy, it might take a while if you need to create or update lots of budgets. The Cloud Billing Budget API was made for just that! Using the API can give you the ability to easily update and manage budgets, and we’ve written a quick guide to get you started. Managing budgets with the API also extends to the Project Owners, so they can now use the API to create and manage their project budgets.
Thanks to timely notifications that they provide, budgets are definitely the best way to stay on top of your costs. If you and your team use other communication tools such as Slack, you can also extend budgets to post messages there (here’s a guide on that). That way, you can get updates faster for any budget alert! You can even go further and integrate budget notifications into your own project workflows (Cloud Functions is great for this). One common example is using a function to cap the spend on certain non-production projects after reaching a specified threshold, shutting down any resources that are attached to that project. Check out this post for more information on getting advanced integrations set up and as always, visit the documentation for more information.

