Chances are, if you’re a reader of this site, you use a Chromebook or other ChromeOS device. And if you are, you’re also likely relying on Google services, such as Docs, Drive, and Photos. Yes, you know you’re giving your data to Google. Did you know you don’t have to? Here’s how to create a private alternative to Google services for Chromebooks.
One possible solution: NextCloud
The private alternative to Google services I’m going to highlight is NextCloud. What is NextCloud?
It’s a free and open-source software suite that provides software to create documents, manage contacts and calendars, chat with others, and file storage. All of these tools in the NextCloud suite are accessible through a browser. That right there makes this a viable option for Chromebooks. There are also mobile apps for NextCloud on both Android and iOS.
The key difference between NextCloud and Google, as well as many similar services, is that you control all of the data. That’s because you’re the one actually running the service. I’ll get to how you do that shortly.
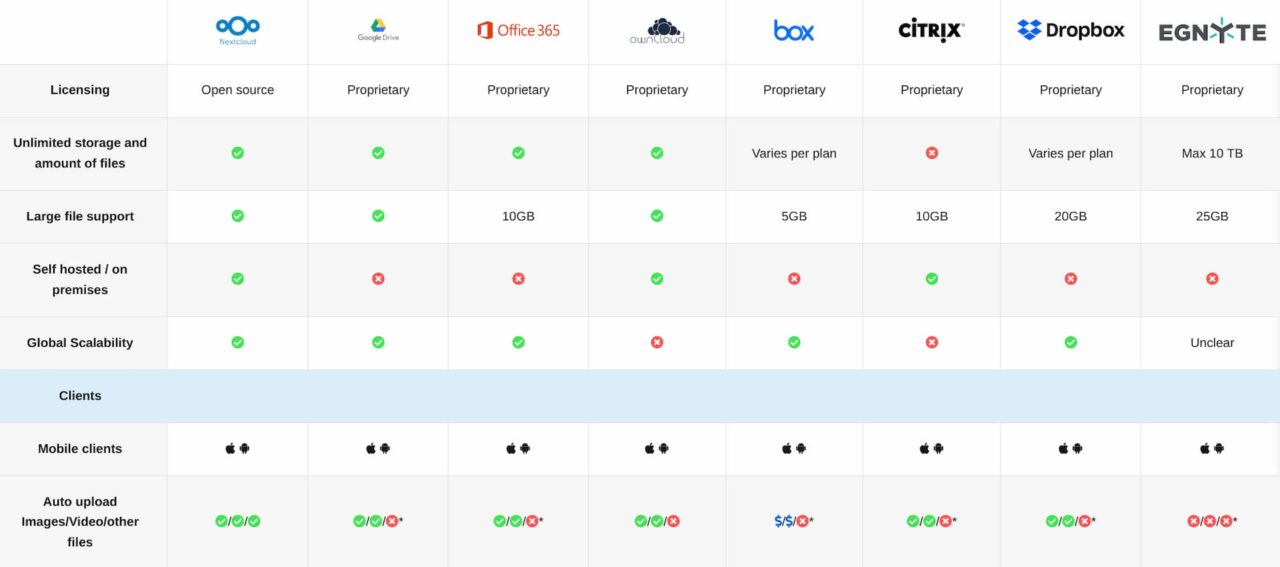
Above is just part of a much larger comparison of features between NextCloud and other cloud-based productivity and personal services. You can view the full comparison on NextCloud’s site.
Use NextCloud on a PC as a private alternative to Google services
Since you’re not relying on a company to provide your cloud services, you have to install NextCloud yourself. I’ve done this two different ways in the past. One, which is what I recommend to get started, is to use a Raspberry Pi. Surprisingly, this relatively inexpensive little computer can handle light to moderate use as a NextCloud server. And it’s easy to get started.
Download the Raspberry Pi OS image provided by the Raspberry Pi folks, for a basic Linux system. Once the Pi is booted up and running, use the Terminal to run this command: curl -sSL https://raw.githubusercontent.com/nextcloud/nextcloudpi/master/install.sh | sudo bash That will download and install the NextCloud server software.
If you want or need a more step-by-step approach to this entire process, Raspberry Pi Tips has a solid write-up.
Although I’ve run NextCloud on a Pi for a while, I recently upgraded my hardware. The $299 mini-PC I bought back in February has been collecting dust lately. I actually bought an even more powerful mini PC since then, so that’s what I use on my desk with a 34-inch ultrawide monitor now.
So I repurposed the old mini PC as a replacement for the Raspberry Pi and now NextCloud really flies! In fact, the small PC doesn’t break a sweat running NextCloud, so I’ve installed CasaOS and multiple containerized apps to supplement NextCloud.
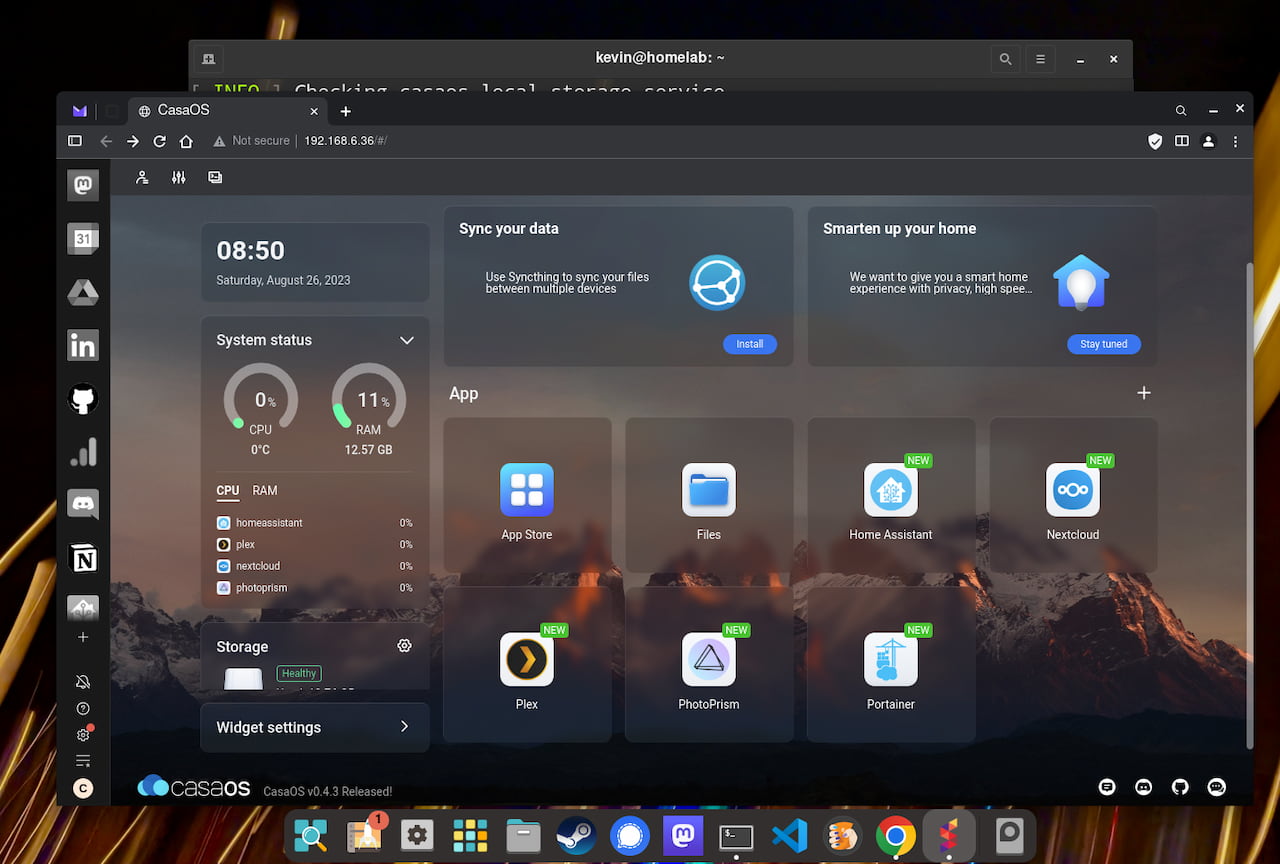
I’m now running PhotoPrism on the mini PC, which effectively replaces Google Photos. All of my phone’s camera images can be uploaded automatically to my little desktop, where they’re categorized and tagged through the software. Of course, NextCloud offers a similar photos app so you don’t have to follow my approach.
Run NextCloud in the… cloud!
The second option I’ve used is to pay for a cloud server and run NextCloud on it. There are plenty of vendors to choose from but I went with Linode. I use Linode to host this site and they’re not paying me to mention their service. I’m just a happy customer. And if you choose to use Linode through this link, you’ll get a $100, 60-day credit for their services. I’ll also get a smaller credit to my account, just to be transparent.
If you go with Linode, you don’t have to spend much to run NextCloud, even after your two-month free trial. For $5 a month, I run a Linode instance with more processing power and storage capacity than my Raspberry Pi. It’s a shared server with a single CPU instance, 1 GB of RAM, 25 GB of storage, and up to 1 TB of data transfer per month. If you’re going to host services and files for several Chromebook users, say a family, you may want the next tier, which is $12 monthly. That doubles everything from the lower plan.

If you go the Linode route, you can install NextCloud with one click in the Linode Marketplace. Below I’m showing the Marketplace with NextCloud chosen. There are a few additional configuration settings you’ll need to enter, such as admin passwords and which region you want your NextCloud server in. You’ll want to select the region closest to you.
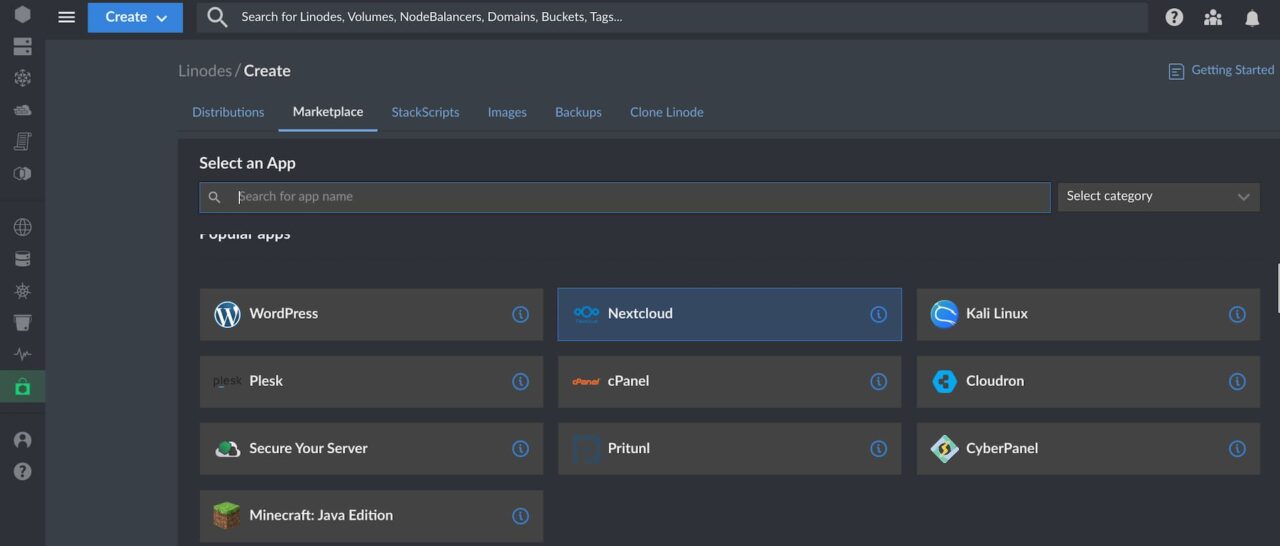
For a look at all of the individual steps for the installation and configuration of NextCloud on Linode, this is a helpful guide.
How do you access NextCloud from a Chromebook?
Regardless of how or where you have your NextCloud server installed, you will have an IP address for it. To access and use NextCloud from a Chromebook, just point your browser to that IP address! You’ll have to login as a NextCloud user, which is configured after the server setup. But that’s it.
Note that you can point a domain name to your NextCloud IP address too. Meaning, I could have access to NextCloud from my personal site at kctofel.com. In fact, I did do that when testing NextCloud, using a subdomain. nextcloud.kctofel.com provided access to my files and apps on my Chromebook. That’s a more advanced topic though, so I’ll refer you back to the Linode support docs, since it’s covered there.
More importantly, what does NextCloud on a Chromebook look like and what can you do?
Goodbye, Google services for Chromebooks!
As you might expect, the overall experience with NextCloud is similar to Google Docs, Drive, and Photos. All of the apps and services are integrated into a single space. You start out from a home screen similar to what iCloud provides Apple users on the web.
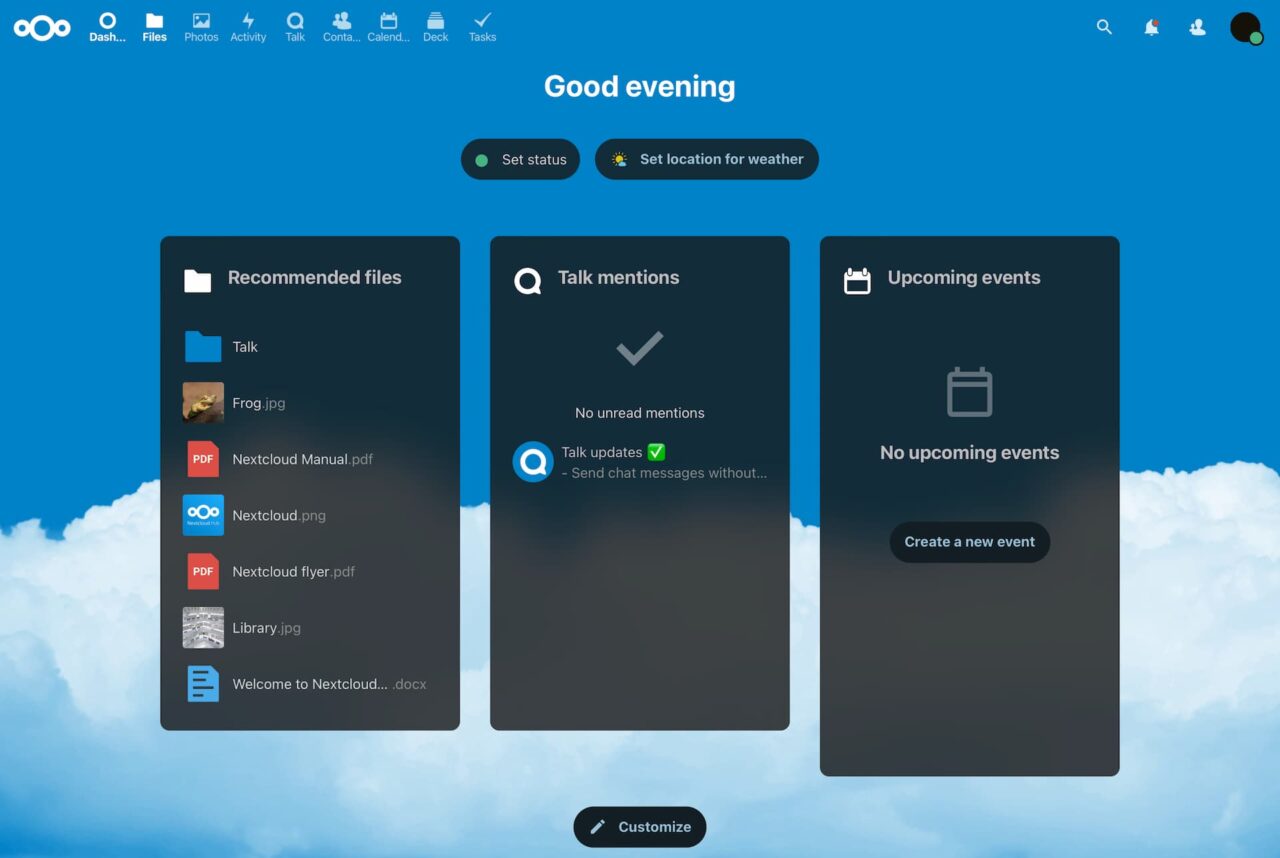
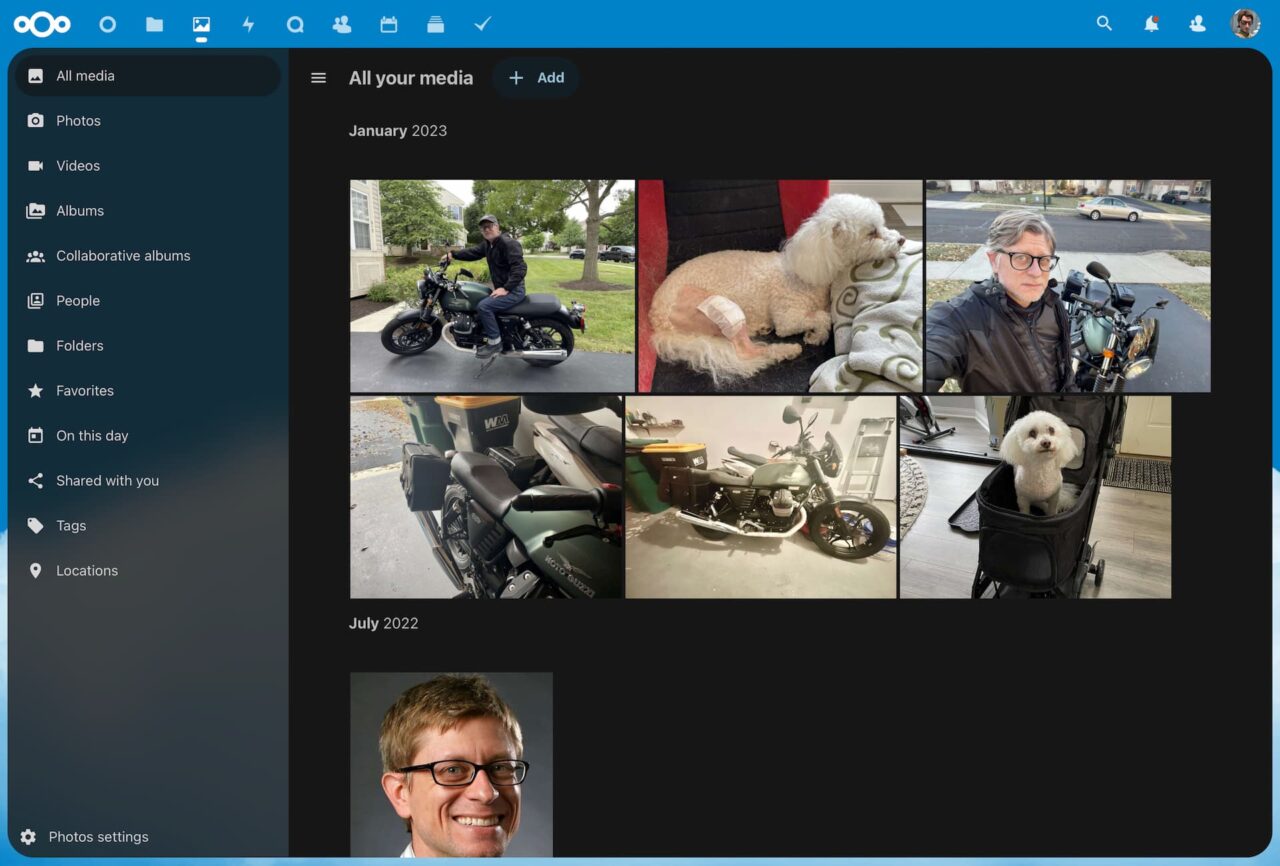
Using the NextCloud web client, I uploaded some of my Google Photos and they appeared without a hitch. Again, these are now stored on my own server, so Google nor any other company, have access to them. You can also set up the NextCloud mobile app on your phone to automatically back up photos to your server.
I don’t use Google Docs all that much but I did test out NextCloud’s productivity tools. And… they look and work much like Google’s. Here’s a brief overview video to show you:
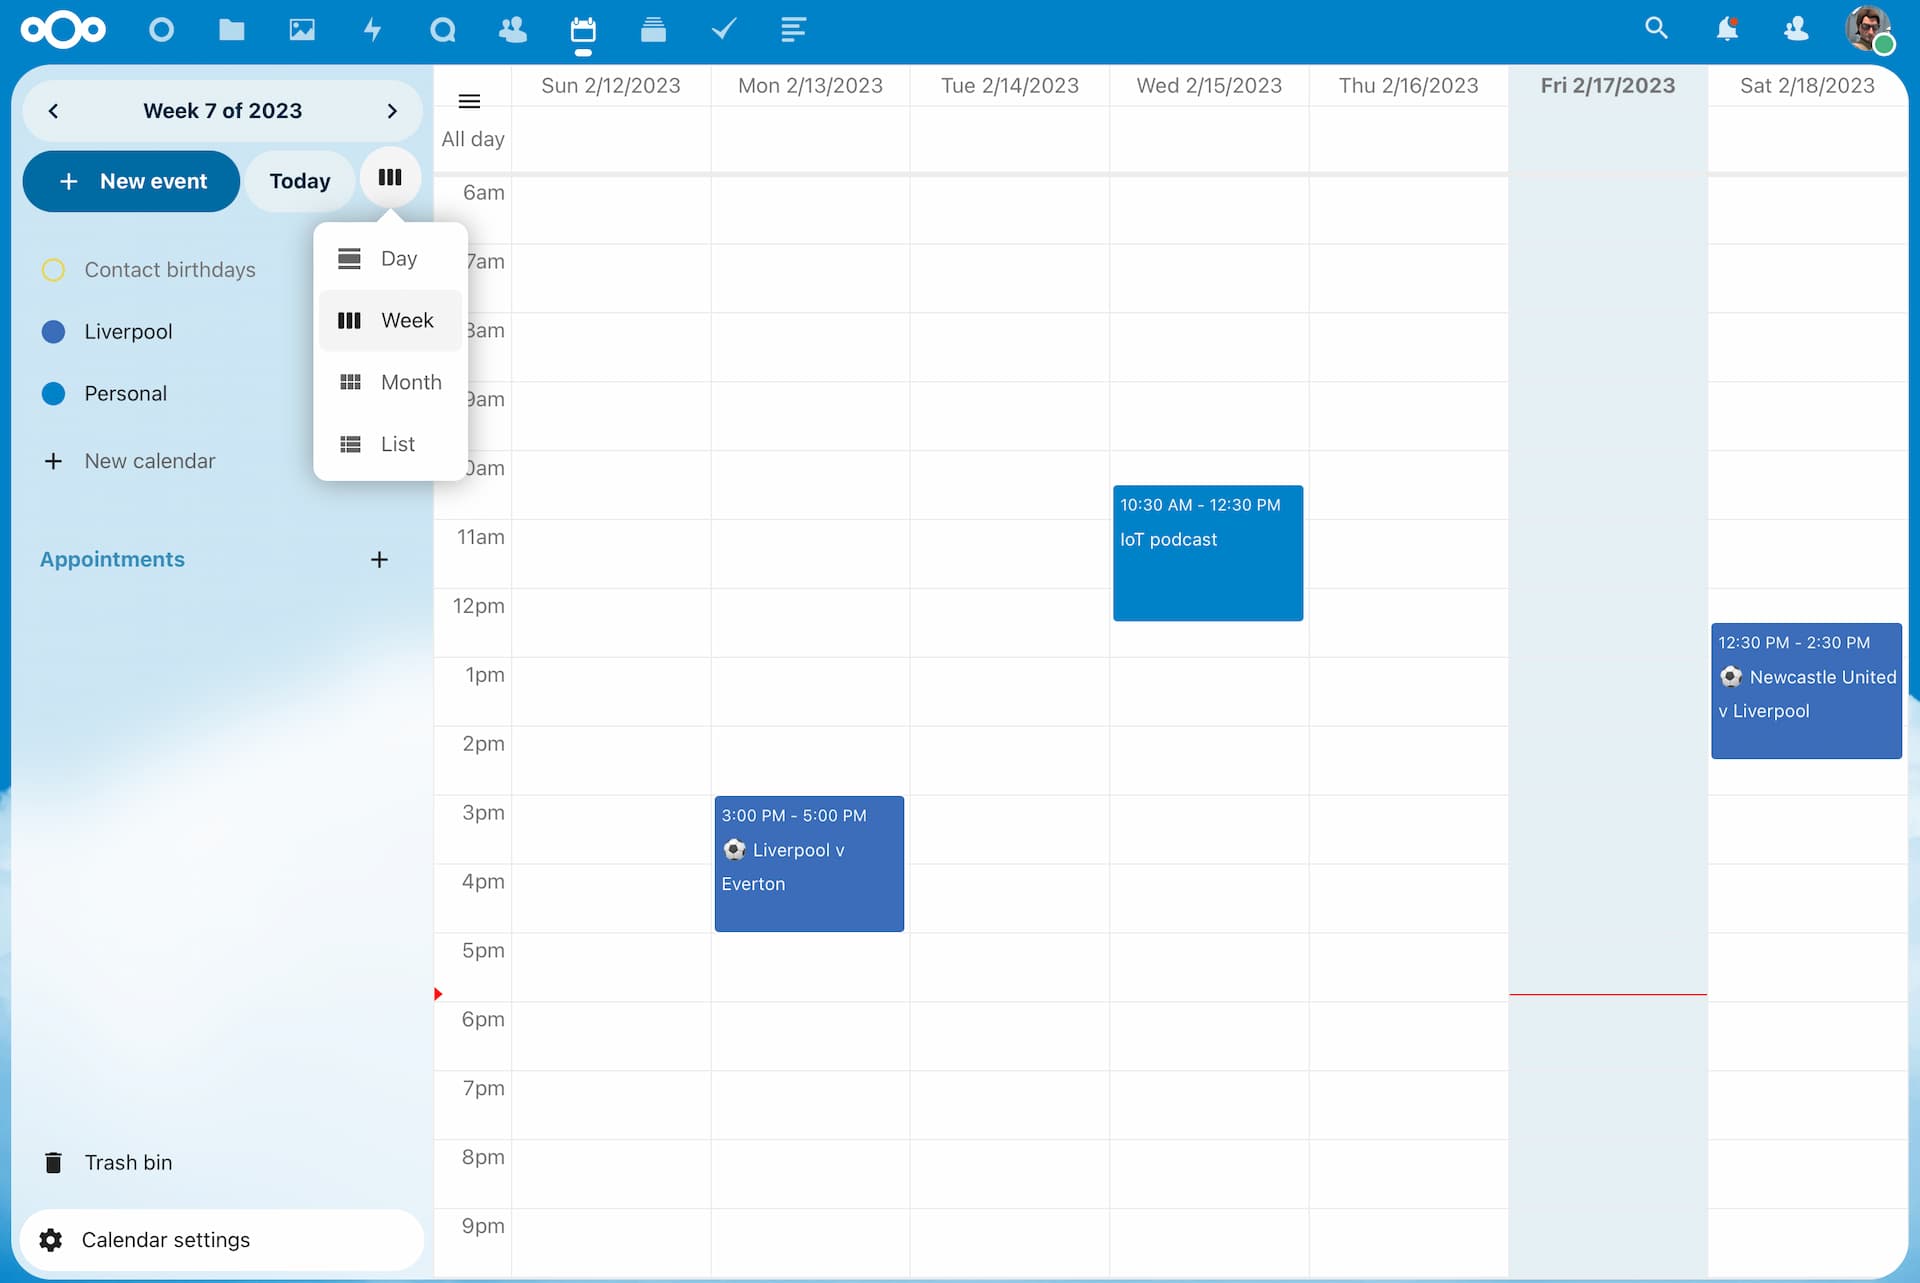
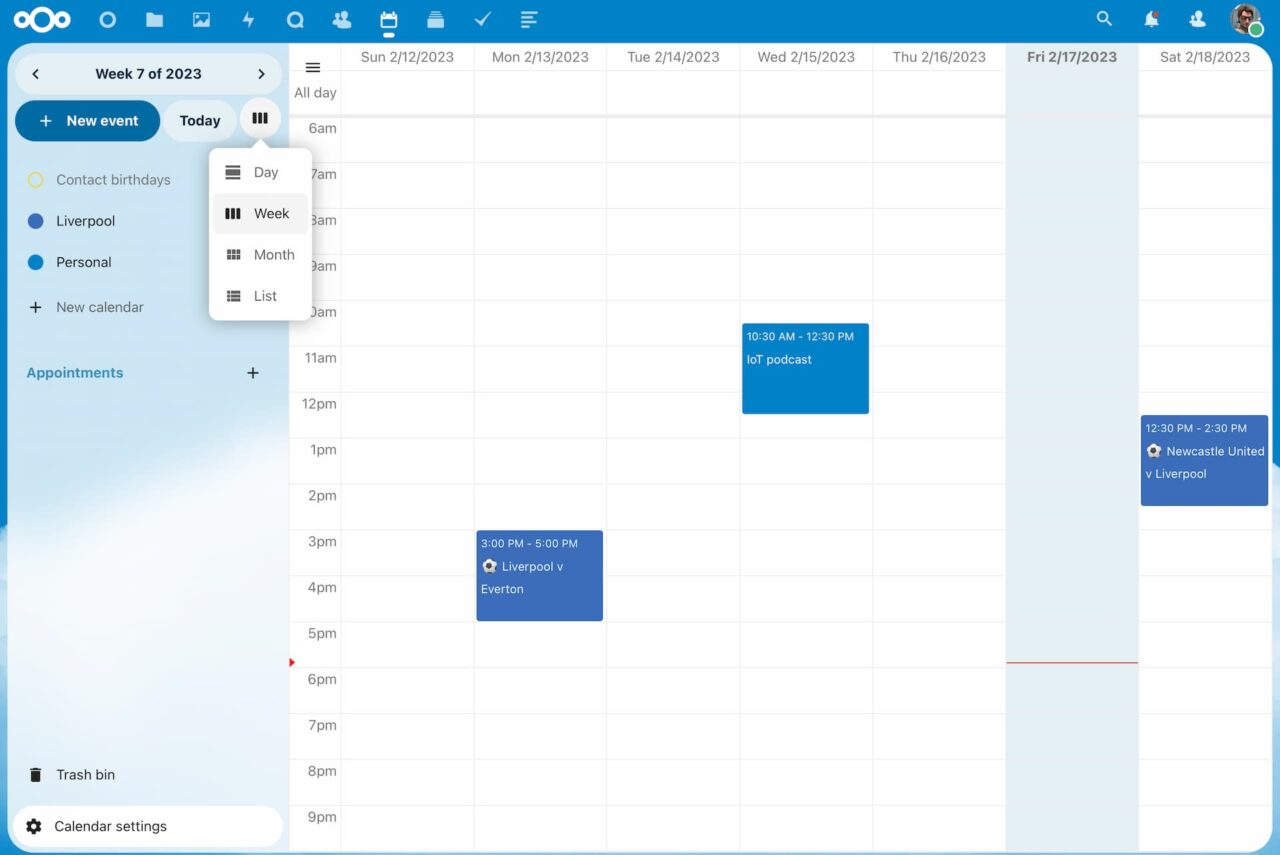
I also configured and accessed my NextCloud calendar with a Chromebook. Surprise, surprise: It probably looks similar to what you’re used to.
As an added bonus, NextCloud has a built-in feed reader too for your RSS feeds. Google doesn’t even have one of these today, given it killed Google Reader years ago. Then again, it might be coming back to Chromebooks in a fashion.
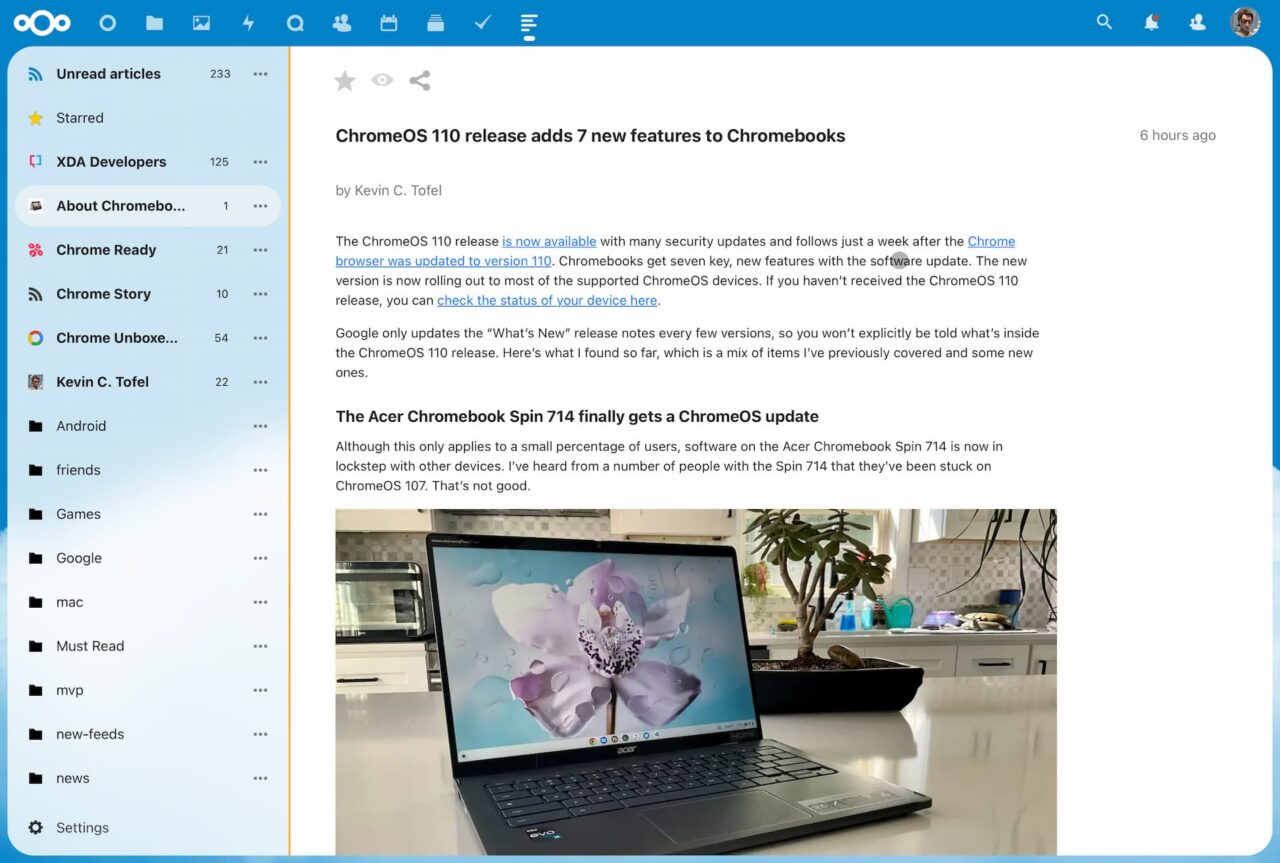
These days, I use Feedly for my RSS needs. It was super simple to export those feeds to a file and then import them to NextCloud.
Do you want a private alternative to Google services for Chromebooks?
Before going through any of the NextCloud setup processes, you really need to ask yourself if you want a private replacement for Google services. Again, you’re likely using a Chromebook or ChromeOS device. These do provide Google with telemetry data as well as information on what you search for and where you browse. This isn’t news.
However, you can vastly limit how much of your usage data goes to Google from your Chromebook with NextCloud. If Google can’t see your documents, photos, and files, for example, that’s a huge reduction right there.
Ultimately, you may not care about giving Google access to your data from a Chromebook. And that’s fine. My intent here isn’t to judge you. Nor is it to tell you that you’re wrong. Instead, I’m simply providing a cloud-based alternative to Google services on Chromebooks. One that helps protect your data privacy if you’re willing to configure and administer it.
After using it, I think NextCloud is one of the best services to replace Google services on a Chromebook. But then again, I don’t mind doing some of the server setup and administration.
The post How to create a private replacement for Google services on Chromebooks appeared first on About Chromebooks.

