Devices often use 192.168.1.1 as the default IP for routers and WiFi networks. It falls under the Class C private IP range and serves only internal networks.
People frequently mistake it for 192.168.l.l due to its appearance. External sources cannot reach this IP because it does not connect to the Internet.
To find your router’s IP address, check the default gateway. On a Windows computer, open the command prompt and type ipconfig.
The default gateway will appear in the results. On MacOS, open the Terminal and type ip route | grep default to see the gateway information.
Private IPs like 192.168.1.1 help manage network settings, connect devices, and ensure security. They are separate from public networks, making them safe for home or small business setups.
How to Log In to 192.168.1.1?

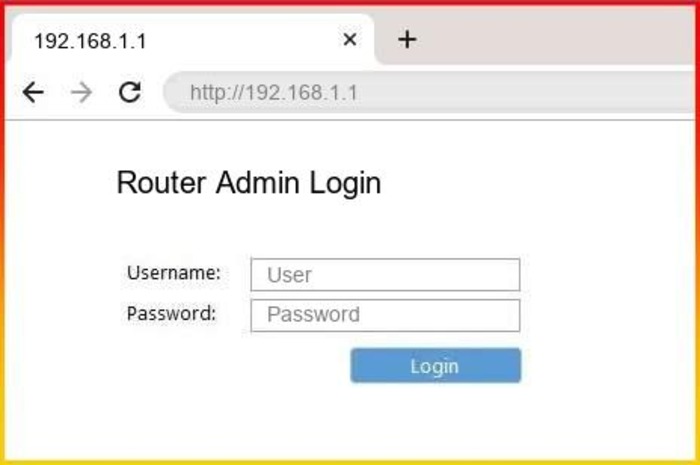
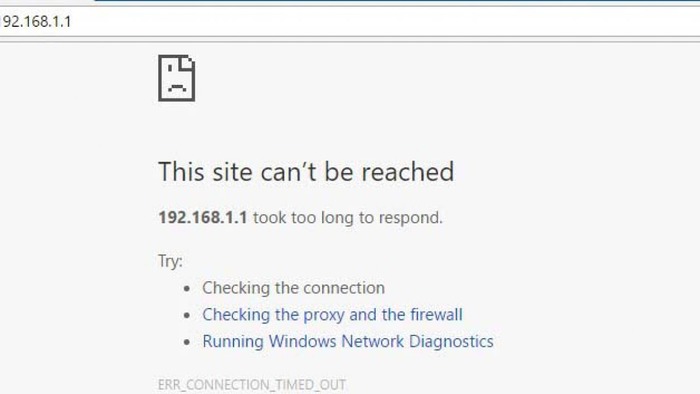
- Use a web browser and enter 192.168.1.1 into the address bar. Ensure your device connects to the router’s network. If an error appears, the router’s IP might not be 192.168.1.1.
- You will see a login page. Enter the username and password, usually printed on the router’s label.
- Reset the router if the default login fails. Hold the reset button at the back for 15 seconds. It will reset the username and password to default.
Fixing Login Issues with 192.168.1.1
If you cannot log in to 192.168.1.1, follow these steps to resolve the issue:
- Make sure you type the IP address accurately. People often enter 192.168.l.l or 192/168.1.1 by mistake. Check the address carefully to prevent errors.
- Next, restart your router. Disconnect it from the power source, wait a few minutes, and then plug it back in. This simple reset often resolves connection problems.
- If the issue persists, try using a different web browser. Some browsers may have compatibility issues. Alternatively, update your current browser to the latest version.
- In some cases, your antivirus or firewall might block the connection. Temporarily turn off these security tools and try reaccessing the login page. Remember to re-enable them afterward to maintain protection.
- These steps should help you troubleshoot login issues effectively. Following this process can resolve common errors and regain access to your router’s settings.
Change the Default Admin Password
To keep your network secure, change the default password:
- Log in to the admin page.
- Go to Wireless Security or Admin Settings.
- Enter a new password using letters, numbers, and symbols.
- Save your changes.
Update Your WiFi Name and Password
- Log in to the admin page.
- Go to the Wireless Settings section.
- Change the network name (SSID) to something you recognize.
- Enter a new WiFi password.
- Save the changes and reconnect your devices.
Troubleshooting Your Router

If the router isn’t working:
- Reset it by pressing the reset button for 15–30 seconds.
- Use the default username and password after the reset.
- Check the user manual or contact support for more help.
Avoid Common Mistakes
Be careful when typing the IP address. Use 192.168.1.1 exactly. Avoid errors like:
- 192.168.l.l (letter L instead of number 1)
- 192 168 1 1 (missing dots)
- 192/168.1.1 (wrong format)
Typing the wrong IP address won’t take you to the login page. Double-check before pressing enter.
The post 192.168.1.1 – Admin Panel Setup appeared first on About Chromebooks.

